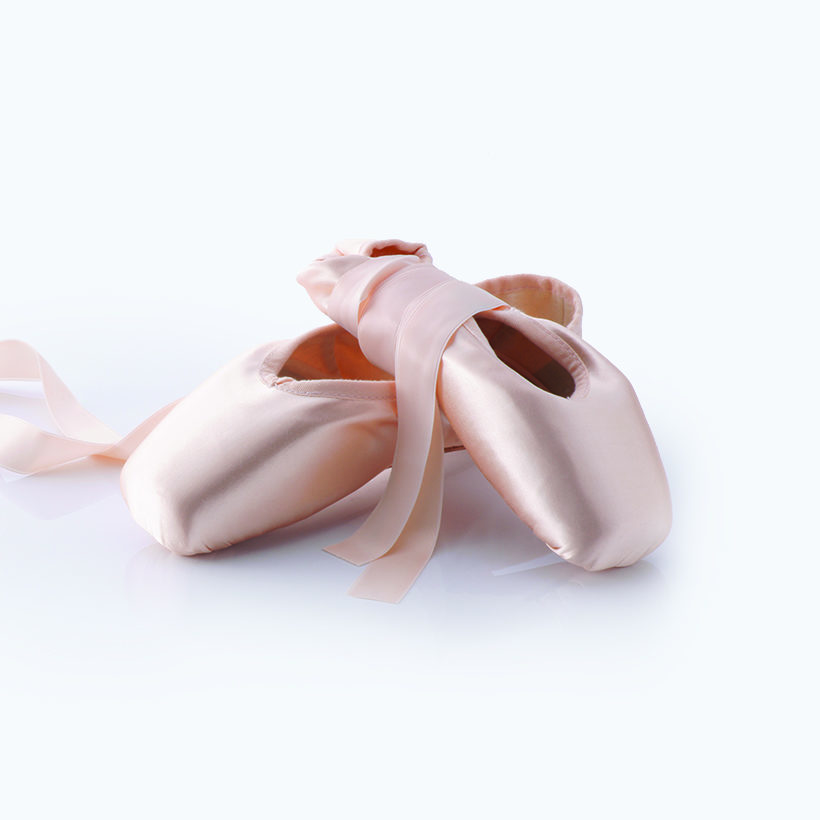
Everything about a pointe shoe, from the box to the shape and the shank, plays an important role in the performance of the shoe and your ribbons and elastics are no different. Sewing your ribbons and elastics on correctly is not only important for offering the correct support but for ensuring the shoe has the best chance of staying on and performing optimally for as long as possible. Every dancer has their own method that works for them, and as you gain more experience, you will adapt your sewing method to your personal needs. However, after a lot of research and years of experience, we have found that the methods in the images below offer the most support and place the least amount of pressure across the front of the ankle – and it looks neat too 😉
A few tips:
Location
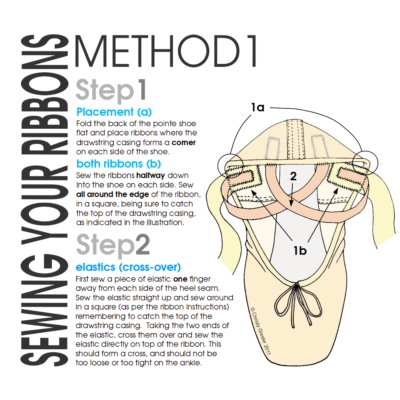
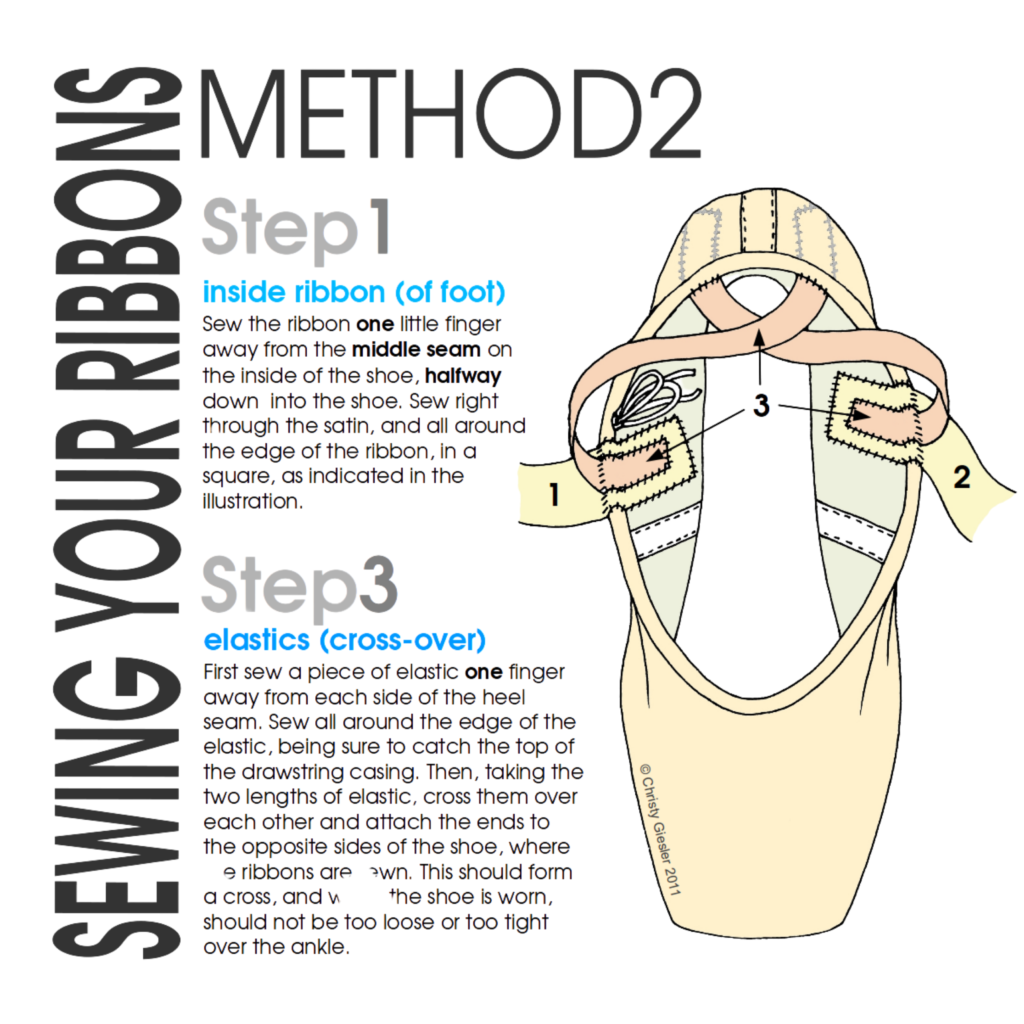
One of the main factors that will go into how well your ribbons and elastics will support you in your shoe is where you sew them. Criss-cross elastic with ribbons offers the best support for the shoe and ankle as it allows the ankle to maintain a full range of motion while the foot is secure through each position. The reason for sewing the ribbon and elastic so far down into the shoe is that it holds the shoe to your foot as you move through all the positions from flat to pointe. It reduces the tension on the seams of the shoe and allows you to feel secure that your shoe won’t pop off mid-performance.
Pin The Ribbons On The Pointe Shoe
Pinning or doing a loose tacking stitch to hold the ribbon in the right place and at the right angle helps make sure they don’t move or change angles while you are stitching. Then the elastics follow the angle of the ribbons, and are stitched on top of the ribbon to the shoe, not just to the ribbon. You can pin them too for extra accuracy before stitching.
Pin The Ribbons On The Pointe Shoe
Pinning or doing a loose tacking stitch to hold the ribbon in the right place and at the right angle helps make sure they don’t move or change angles while you are stitching for the most accuracy. Then the elastics just follow the angle of the ribbons, but you can pin them too for extra accuracy.
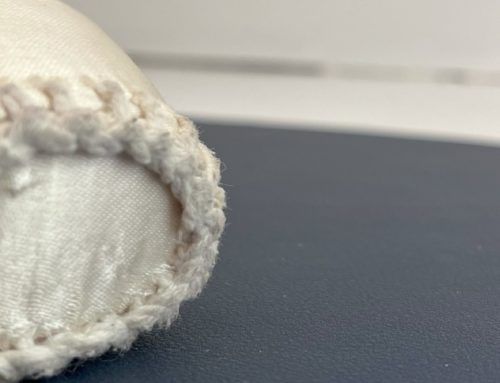
Stitching through the satin
You can use pink thread or dental floss so that the colour doesn’t stand out against your beautiful new shoes, but stitching all the way through is the way to go. Dental floss is strong and won’t snap and loosen your ribbon/elastic especially if you have a really high arch and go through a high 3/4 pointe position. This is again for optimal ‘hold’ between shoe and foot. You can also use the double stitching method, for extra safety. This involves sewing in one direction and then sewing back over what you’ve already done from the opposite direction, for extra peace of mind.
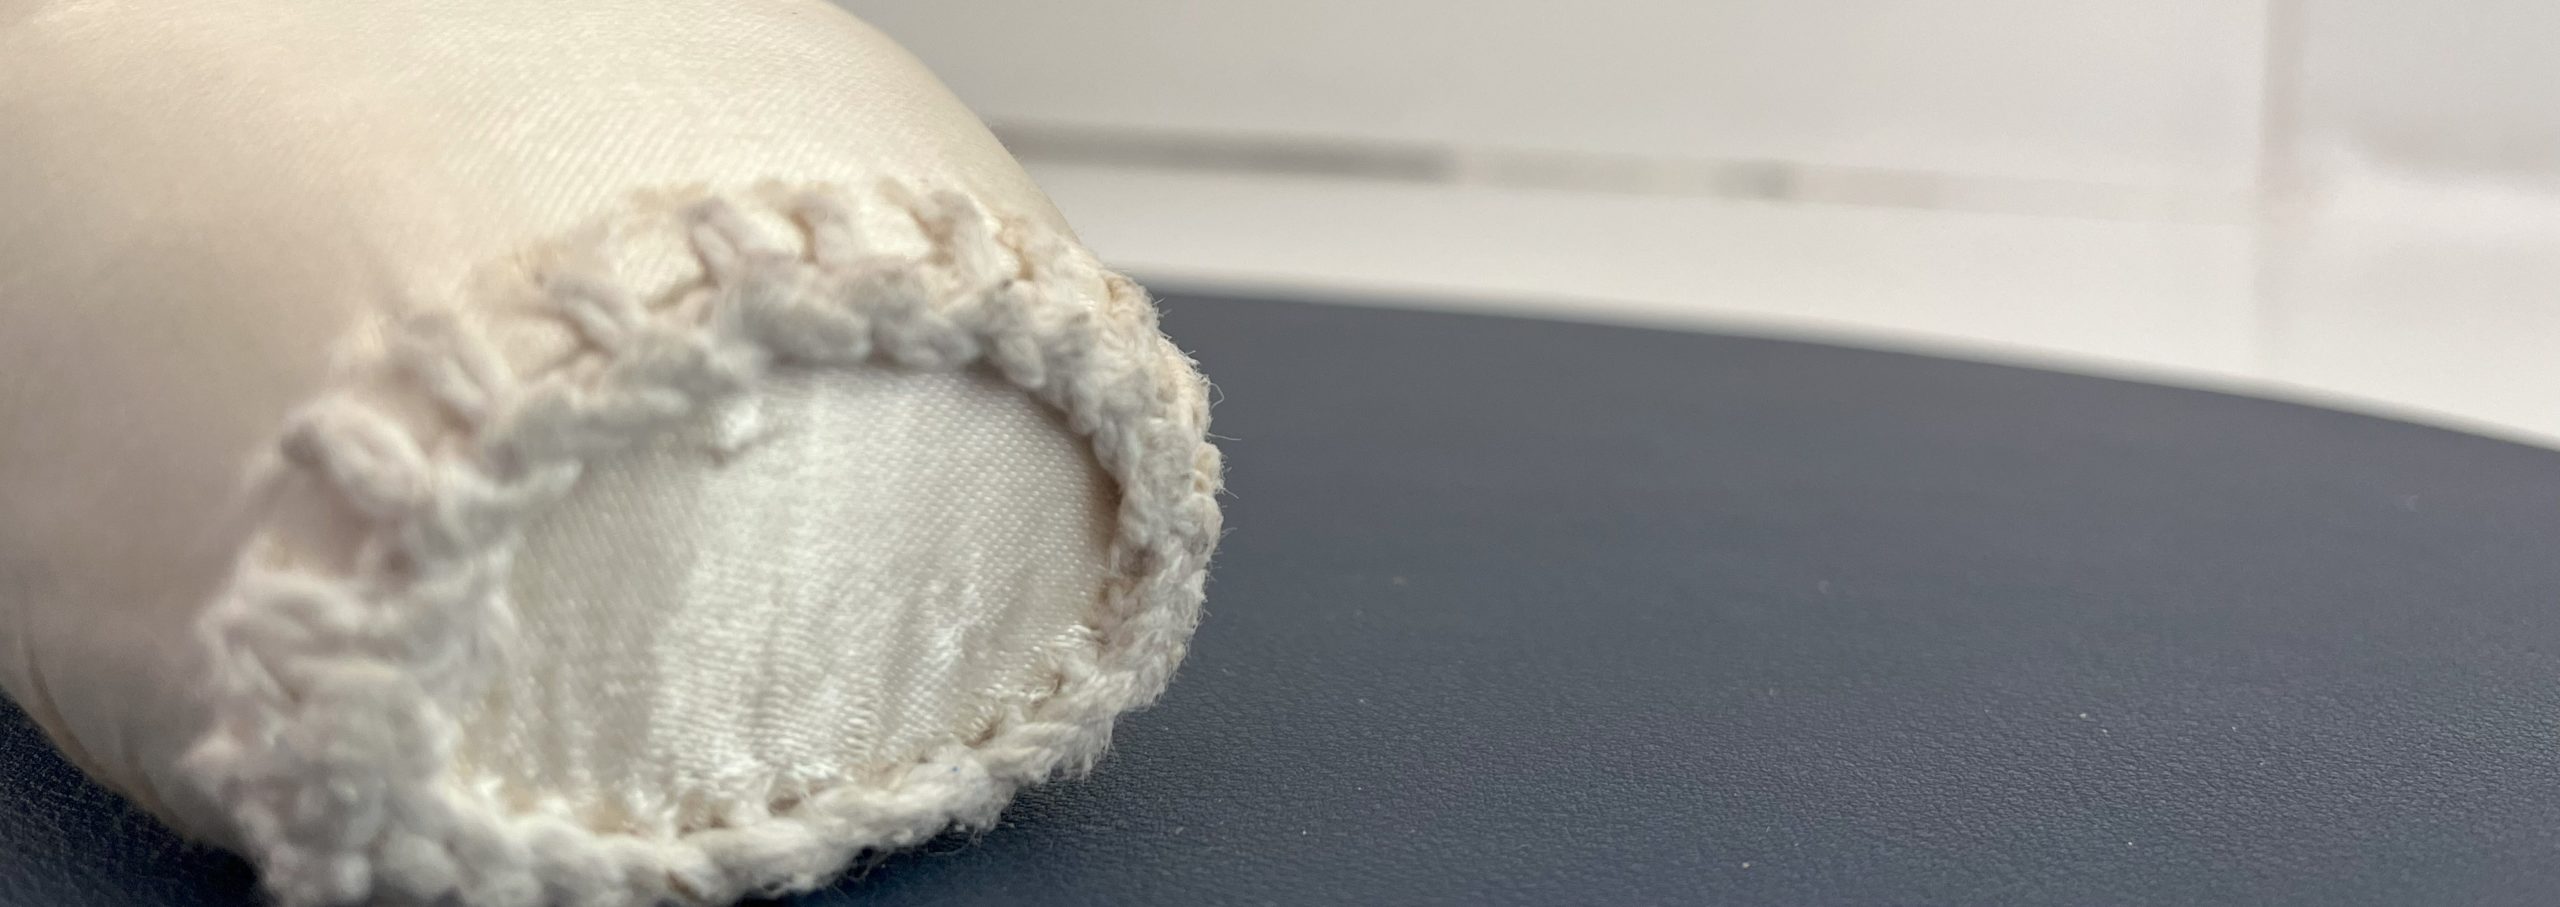
Remember to stitch the ribbon and elastic to the top of the drawstring casing to prevent your shoe from gaping or pulling away from your foot on demi-pointe.
If you suffer from Achilles tendinitis check that your criss-cross elastics are not too tight and that your ribbons are comfortable and there is no puffy skin above or below your ribbons once tied. You can also try elasticated ribbon, ribbon with pieces of elastic around the Achilles. Or stretch ribbon, which is stretchy all over.
